Sunday, January 30, 2011

I Love You Chuck! Never Fail Roast Beef Sandwiches


I love Chuck.

He's always so tender.

Forgiving.

He never disappoints.

He never fails me.

He's so versatile

Oh, and he's oh-so juicy.

My husband knows all about Chuck so don't worry.

I'm talking about my lover, Chuck Roast.

To me, Chuck Roast is the best all-round cut of beef.

So many uses.  My gosh this dude is so versatile.

Today I made Roast Beef sandwiches, or Beef Dip Sandwiches.

Call it what you like, top it with what you like, Chuck will never fail you.


3 to 4 pound Boneless Chuck Roast
3/4 stick butter
1/2 large yellow onion, cut into chunks (you can use the whole onion if desired)
32 ounce container Beef Broth
3 Tbsp. Worcestershire Sauce
Kosher Salt

Sandwich Stuff:
(This of course will be to your liking)
Deli Buns, toasted (see below)
I like Horseradish or A-1
Hubby likes regular ole Yellow Mustard
Some like the juice of the broth to dip with
Sliced Provolone or Monterrey Jack cheese (to your liking of course)
Pickle Spear

Click Here For A PRINTABLE RECIPE!

I kind of think the simpler the better, cause Chuck is so tender and juicy, you really don't too much to cover up all his goodness.

Ok, back to Chuck. Get yourself a nice cut of Chuck Roast, with a medium amount of fat.  Not too lean, and not to fatty.
Most grocery stores will have them already cut into 3 to 4 pound roasts, which is perfect for about 6 very hearty sandwiches.

Just in case you have never seen Chuck before, this is what the label should say.  He's very popular and so well liked, so you should not have a hard time finding him.


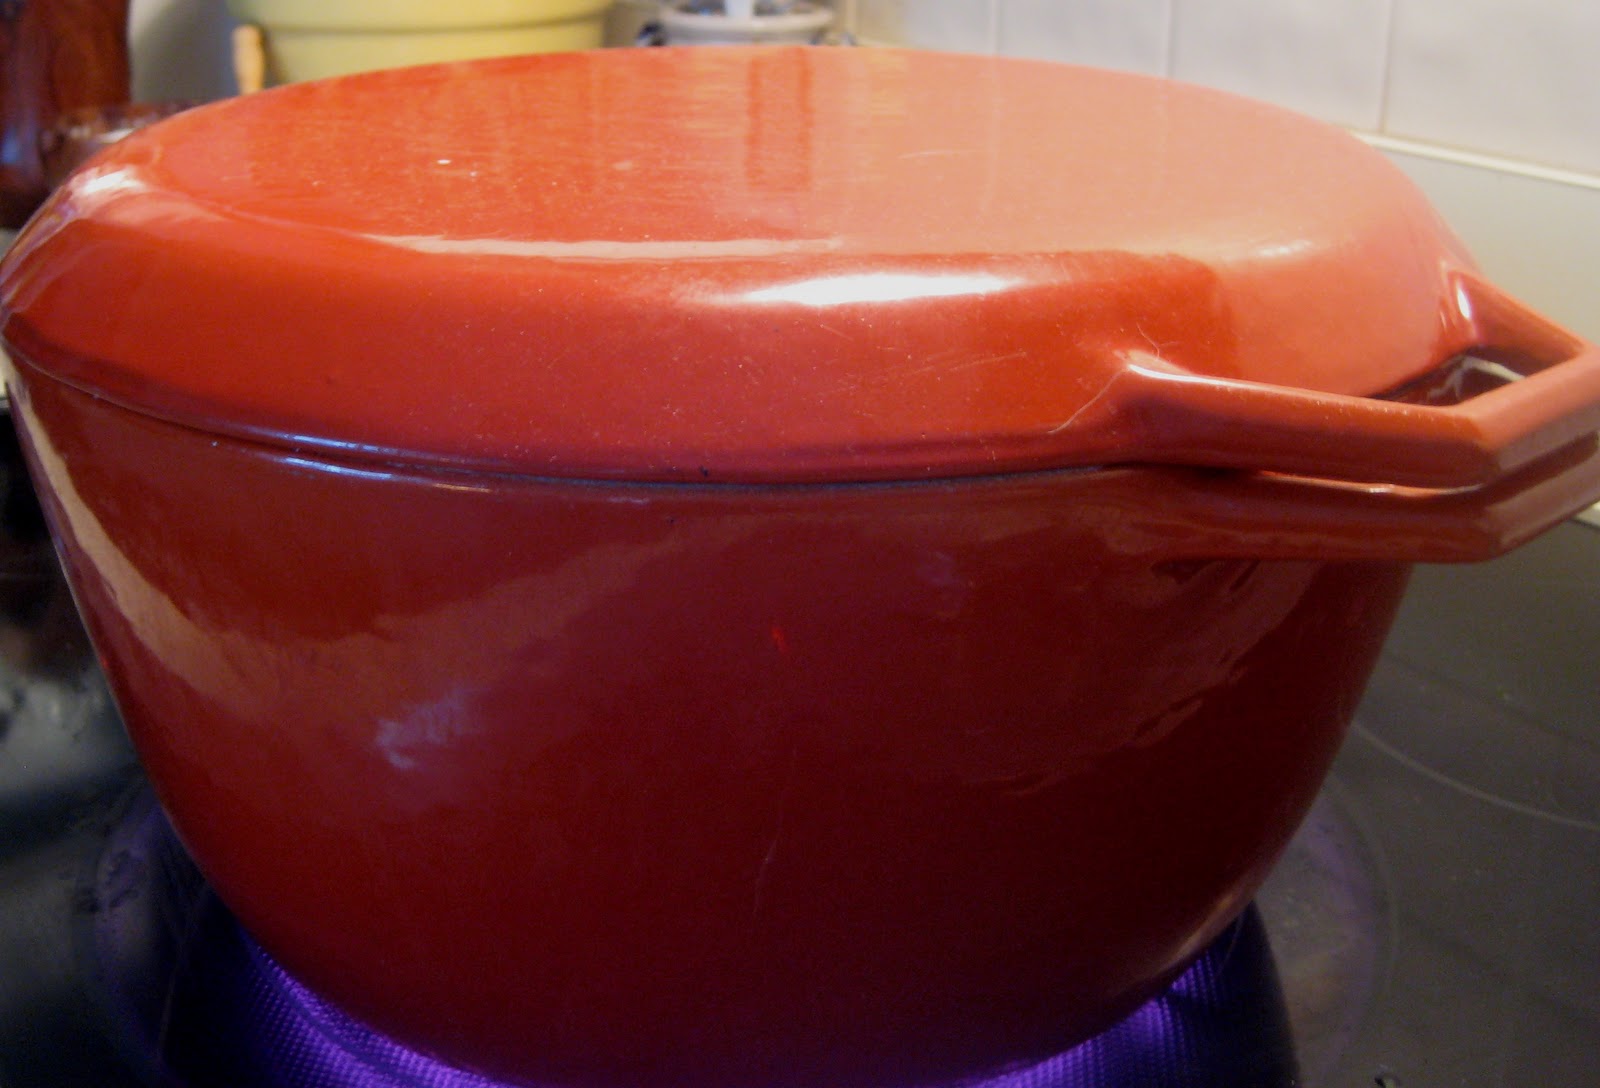
Get out your big pot.  I have one of those Le Creuset "type" cast iron pots.  It's basically a "mock" version of Le Creuset.  Those darn things are expensive with a capital E, so I just bought one that's a pretend version.  Works perfectly, but without the designer name on the lid.

Turn your heat up to medium high and throw in your butter and your chopped up onion.  Feel free to use the whole onion.  I just use half because if my hubby's home at this step in the recipe, he walks in and says "It sure smells alliaceous in here!"  He thinks he's such a smarty pants using big words. So I cut it back to just 1/2 an onion cause I'm nice that way, but a whole one is wonderful

No need to make the onion pretty, and be sure to leave it in somewhat bigger chunks.

Get the butter all melty and swirl around your onions in the melted butter and cook on medium high for about 3 minutes.


Now gently lay Chuck right on top of the melted butter and onion mixture. 


Pour in the entire box of Beef Broth.


Now pour in the Worcestershire sauce, and pop the lid on your pot, and turn down your stove to the number #2.


Now just walk away...... and, as they say in Brooklyn and New Jersey.......Forget about it.

This will take about 4 to 5 hours.  So go ahead and putter around the house, answer your emails, do some laundry.

But I'm warning you, if you leave the house to run some errands.  Be prepared!

When you walk back in your house, now is the time you will fall totally, utterly and completely in love with Chuck.

Your house will smell like..... like.....well, like.......LOVE.

And if your boyfriend or husband is home, watch out, cause your man will want to marry you or re-marry you, all because of the smell of Chuck.

After about 4 to 5  hours on the number 2 low setting on your stove, you can feel free to lift the lid and check on chuck, he should pretty much be done.

When you take your tongs and try to pull him out, he will just start to fall apart.  If it seems a bit "together" still, then let him cook another 30 minutes.  I have found that 4 1/2 hours is perfect, but then again, it depends on the size roast you bought and how well your pot keeps its heat.

Once Chuck is ready, grab a nice casserole dish and slowly take chuck out and place in the dish.  You will probably have to keep going back to pull out hunks, cause Chuck is so tender, he's liable to fall into pieces.

He's going to look something like this:


Oh Chuck, I love you.  Look at how handsome you are.

Let Chuck sit in the casserole dish and rest for a bit, he's liable to be pretty hot.  After about 3 to 5 minutes, take two forks and gently pull the roast apart.


This is the time you might want to discard any of the fatty pieces.  Totally up to you though.

Once all the roast has been pulled apart with your fork, take some Kosher salt and gently sprinkle, then toss, and then sprinkle and toss.  Just brings out the flavor and makes Chuck even more appealing.

Once it's all pulled apart, and the salt has been added.  Take your ladle and pour some of the juice from the pan on top.  Get some of those onion pieces too that are floating around.


I like to get about three good ladles full and pour it all over Chuck. 

You can save the rest of the juice to heat up and serve on the side for dipping if you wish.

Now is the time where my mind starts to wander.

Chuck, you are so diverse.  Just think of all the things I could do with you right now.

I could just serve you as is, with a big pile of Garlic Mashed Potatoes.

Or I could cover you in BBQ sauce and pile you high on a bun and serve you with BBQ beans

I could put you into a warm tortilla and have beef tacos.

But today, I'm going to put you on a toasted deli roll.

Turn your oven up to 350.

Now butter the tops of your buns.


Place your buns on a cookie sheet (how ever many sandwiches you are making) and place in the oven for about 4 minutes.  You just want them to start to get toasty.

Once you see the corners of the buns starting to toast, turn on your broiler.

Watch them really careful, cause toasting can happen pretty quickly.

They should be nice and toasty like this when ready to come out.  Turn your oven off at this point.


Now is the time you can get creative.

I just put a bit of horseradish on my bread, and then sprinkled a bit of provolone on top, and popped it back in the oven for just enough time to get the cheese all melty.


However you serve Chuck, it will be love at first bite.

Why Chuck, I bet you say that to all the girls.


Wednesday, January 26, 2011

Company's Coming CREAM CHEESE JALAPENO CRESCENT POPPERS


When we have people over to our house to watch a sports event on the telly, I start thinking days and days ahead of what to make.

Besides cleaning my house like a mad-woman, the second thing that's on my mind is what sort of snack can I make.  I dwell on it literally for days.   I mean DAYS.

I know, I know.  Too late to fix me now, I'm too far gone.

So in times like this when I'm having issues, these little guys are like my double dose of Advil for a "company's-comin- over-stressed-out" headache.

So easy.

Super good pop-in-your-mouth-I-want-more kind of appetizer.

Great with an Ice Cold Beer or Margaritas (a must actually).

Sweet, Hot, Creamy, Flaky Yum-a-licious.

And last but not least, pretty darn cute.


1 tube regular Crescent Rolls
1 (4 ounce) can Diced Jalapenos (you will actually only use half of this can)
3/4 (8 ounce) cube cream cheese, room temperature
1 Tbsp. sugar

Note:  The ingredients above make 32 little Crescent Poppers.  It's easy for a grown man to shovel about 8 of these in his mouth without thinking about it.  So depending on who you're having over, you might want to get another tube of Crescent Rolls and one more cube of cream cheese.  Don't worry about the Jalapenos, you will have enough for a second batch with this one can.  Unless you want over the top spicy poppers.

Preheat oven 375 degrees.

Cut your cube of cream cheese and throw about 3/4 of it into a bowl.  Now take almost half of your Jalapenos from the can and throw in with your cream cheese.

This is the type of jalapenos I can get at my local grocery store.  They are diced up really fine and work perfectly.  But if you prefer to use fresh Jalapenos, then go for it.  I just didn't want to get my fingers all spicy in case I need to rub my eyes anytime soon.


To your bowl with your cream cheese and Jalapenos, add your Tablespoon of sugar. 


To me, this sugar addition is important.  I like the sweet, spicy taste. The sugar is not overwhelming, it's just the perfect accent.  I mean really, anyone can add cream cheese and jalapenos to a crescent roll, but not everyone adds sugar.  It's our little secret.

Take your fork and mash it all up really well.  Be sure to incorporate all that sugar in really well.

This is where I like to do a little taste test.  I prefer a bit more spicy poppers, so I added just a bit more jalapenos.


These are not really as hot as they might appear, but then maybe that's just me.  So ya better test it first.

Set your bowl of cream cheese jalapenos aside for now.

Open up your tube of crescent rolls and place on your cutting board.

Separate them into two rectangles, it should look like this, with all the little perforations.


Now pinch together the perforations to create two nice rectangles.  Sometimes I like to use my little mini rolling pin afterwards, to make it a nice and smooth rectangle.


With the back of your spoon, spread half of the cream cheese mixture, onto one of the rectangles. Save the other half of the mixture for the other rectangle.  (You will have TWO rectangles per tube of crescent rolls.)

Get to spreading.


Once you've spread your half portion of cream cheese on one of your rectangles, start with the LONG end of the roll, and get to rolling.


Once it's all rolled up, you will need to cut your log into 16 pinwheels.

Don't be nervous, I'm not very good at math, but I've found a really easy way to do this so it all comes out evenly.

Get a sharp knife. Really sharp if you have one.

Cut your log right in half. Now you should have two logs.  Then cut those two logs in half, and now you should have four logs. 

Get the idea?  I'm so smart, I amaze myself sometimes.

So now you should have four logs.


Now, cut these dolls in half and now you have eight smaller logs.

I bet you didn't think you were gonna get a math lesson did ya?


Now of course, last but not least, cut these little sweet-ums in half.

You now have 16 pinwheel poppers.

Note:  This is where you could refrigerate these little guys if you wanted to make them ahead of time.  Then just bake them right when the Gang is getting antsy.

Place your 16 poppers, standing up, on a cookie sheet that has been sprayed with Pam.  Don't forget this step cause you sure don't want to be prying off your stuck-on poppers in front of your guests now do ya?

Make sure you stand them up, with the cream cheese facing upward.

Aren't they so cute?


Pop these into the oven for about 13 minutes until they are golden brown.  Keep an eye on them, as each oven varies.

Once your first batch is in the oven, get to spreading and rollin and cutting the other rectangle. Man I'm bossy.

Once they are done, immediately slide them off the cookie sheet, onto a plate, walk that plate into your crowd of hungry guests, and hear the Ohhs and Ahhs.


Then watch these poppers, pop, one by one, into the mouths of your ever thankful house guests.

Thank you my little "company's-coming-headache-free" appetizers.

Now where did I put my icey cold Margarita?


Saturday, January 22, 2011

Restaurant-Good Salad Dressing - LEMON MAPLE VINAIGRETTE


Why is it that salads from restaurants always taste better than when you make them at home?

When I order a salad from a restaurant, it always tastes so refreshing. 

I always wonder why I don't have more salads at home.  Lettuce, Tomatoes & Croutons.  Simple right?

But somehow, when I make one at home, it just doesn't hit the spot like it does when I'm sitting in a booth someplace and paying 5 times what it would cost if I made it at home. 

This makes me mad, and I'm not going to take it anymore.

So here it is, my version of a Restaurant-Good salad.

Dressing:
4 Tbsp. vegetable oil
Juice of 1 lemon
2 Tbsp. Real Maple Syrup (not pancake syrup)
2 cloves garlic
1 tsp. Kosher salt
1 tsp. black pepper

Salad:
Heart of Romaine Lettuce (no substitutes)
Grape or Cherry Tomatoes, cut in half
Dried cranberries (Craisins)
Mini Croutons
White cheddar cheese, cut into small cubes


The beauty of this salad dressing is there are only 6 ingredients.

Have you ever counted the ingredients on a salad dressing bottle that's in your refrigerator?

Go on, check it out and see for yourself.  I'll wait.

In case you don't want to get up, it will probably look something like this one:


Xanthan Gum!  What the?

Disodium Inosinate?

Who comes up with this stuff?

Side Note:  when I looked up the word Disodium Inosinate online, this was the definition:
chemical formula C10H11N4Na2O8P, is the disodium salt of inosinic acid. It is a food additive often found in instant noodles, potato chips, and a variety of other snacks. It is used as a flavor enhancer, in synergy with monosodium glutamate  to provide the umami taste.

Oh ok, now I understand!  That cleared up everything.

Why can't things be simple? 

Simple is good.

Simple is good for ya.

So let's get started with a restaurant-good salad with good for ya Lemon Maple Vinaigrette Dressing.

Get out your handy dandy home-made salad dressing bottle.  If you don't have one, any ole glass container will do that has a nice tight fitting lid.  Maybe a Mason jar, or even an old salsa jar that you've rinsed out really well of course. 

Once you start making this salad dressing, trust me, you're going to want to get a nice glass salad dressing bottle. Like one of those Good Seasons Salad Dressing bottles they sell at the grocery store.

Take your garlic cloves and mash them really well onto a cutting board or in a wooden bowl.  Mash it together with the Kosher salt.  Now scoop all of that salty garlic goodness into your glass container.

Take your lemon, and be sure to roll it around on the counter, while gently pressing it down with the palm of your hand. This gets it all juicy and easy to squeeze out every last drop.  Once you are done pressing and rolling, you will notice the feel of the lemon is much softer and will be easier to juice.

Into your glass container with the garlic and salt, pour in your vegetable oil, juice of your lemon (watch out for seeds) and pepper.

Ok, now for the maple syrup.  Be sure you buy REAL MAPLE SYRUP and not the kind you pour on your kids pancakes.  The real McCoy.  Mine looks like this:


Now shake shake shake.  Shake Shake Shake.  Shake your Vinaigrette.


Now for the salad itself.  My preference for a really good salad is Hearts of Romaine lettuce.

I get them in a bag of three, and personally I like to cut the lettuce with a knife into small pieces. 

Pet Peeve of mine is a salad where the lettuce is in big chunks. So I cut the lettuce, but feel free to "gently tear" the lettuce, like all the fancy Chefs do.

Get yourself a nice large bowl, put in your cut (or torn) lettuce, throw in a handful of Craisins, Pecans, sliced grape tomatoes, sliced white cheddar cheese and a handful of mini-croutons (again a preference. I like the mini croutons). Feel free to add your favorite salad fixings instead of the one's I mentioned.

Drizzle your Restaurant-Good salad dressing over the top, and toss toss toss.  Toss toss toss.  Be sure to get everything all coated so each bite is better than the one before.

And if you are lucky enough to have a nice chunk of crusty bread, go ahead and dip it right into that dressing.  Why I do believe, you'll think you're sitting in a booth in some restaurnt, eating the best salad you've ever tasted.


Wednesday, January 19, 2011

Cookie Monster Cookies - Peanut Butter, Oatmeal & Chocolate


Cookie Monster from Sesame Street has very strict requirements for his cookie consumption don't ya know.

His cookies have to be BIG (he has very big hands of course).

They have to be perfectly round.

And most of all they have to be delicious, because they are eaten very quickly (preferably with crumbs flying everywhere) and only a delicious cookie can be eaten quickly.

Isn't that right Cookie Monster?


Warning: These cookies are meant for Large Cookie Monster-Like Hands. 

They are large, perfectly round, and gobble-up delicious.  Just ask my very close friend. C.M., he'll tell ya.


1/2 c. butter, softened
1 c. sugar
1 c plus 2 Tbsp brown sugar, firmly packed
3 eggs
2 c. peanut butter
1/4 tsp. vanilla
3/4 tsp. light corn syrup
4 1/2 c. uncooked rolled oats
2 tsp. baking soda
1/4 tsp. salt
1 c. miniature chocolate chips

Preheat oven to 350.

In a large bowl, cream butter.  Gradually add sugars, beating until fluffy.

Add eggs and peanut butter.

Cookie Monster has such big hands, he can not help me with the Peanut Butter portion, because this is where I use my infamous Mini-Spoonula to scoop out the peanut butter.


Then add vanilla and corn syrup.  Mix well.

Stir in oats, baking soda, salt and chips. This is where you might need Cookie Monster's big hands (or the like) to help you stir.


Batter will be stiff, so I use my wooden spoon...I mean Cookie Monster uses his wooden spoon,  to be sure and get everything all combined.


Be sure to get all the oats and mini chocolate chips combined with the peanut butter mixture.

Now comes the fun part.

Spray your cookie sheet with Pam. (That's not the fun part, what's coming up is the fun part).

Take your 1/4 c. measuring cup and fill it with dough (this is where I like to spray just a wee bit of Pam inside the measuring cup, so the cookie dough flops out perfectly onto the cookie sheet).


Since my measuring cup is a little on the "square side" you will need to gently pat down the dough so it becomes a 3 inch round circle. 

Cookie Monster will only eat perfectly round cookies, so remember that. Very important.


Space cookie dough 4 inches apart.  These suckers grow in the oven to become the ultimate Cookie Monster Cookie.

Bake for 12 minutes.  Be sure they do not get brown around the edges.

Wow, look how they grew in the oven.

Perfect size Cookie Monster Cookies. Please note, those are NOT Cookie Monsters hand below.


They turn out perfectly round, perfectly big, and wonderfully delicious!


Everyone has a cookie monster in their house. 

Could that cookie monster be you?


Sunday, January 16, 2011

Curly Q Cheese on Eggs - My New Favorite Grater


I get excited over the simplest of things really.

I bought this cute little grater because I finally broke down and bought a chunk of Parmigiano Reggiano. You know, the stuff that all the Food TV people use.  Whatever happened to plain ole Parmesan?  It's a fraction of the price of it's fancy schmancy relative, Parmigiano Reggiano.

Anyway, back to my cute little grater.

One morning I made some scrambled eggs and thought Swiss cheese a-top would go quite nicely. 

Perfect chance to use my new little grater.

See how cute it is:


Some mornings a gal has to have scrambled eggs piled high on a piece of buttered toast , with just a sprinkling of cheese.

And oh to my surprise, lookie at what my new little grater did.

It gave me Curly-Q Cheese!


Cute little curly pieces of cheese, that not only melt perfectly but is so pretty to look at. (see them in the background all cute and curly).

Sometimes all you want is a light sprinkling of cheese on top of something to satisfy your cheesy cravings.

And if it just-so-happens that the light sprinkling of cheese is all Curly-Q looking, then how happy things will be!

It melts perfectly and oh-so quickly.

Just think of it.  Think how pretty it will make your salads.

Or use it with Cheddar Cheese and make an awfully pretty pile of Nachos.

Or what about curly pieces of cheese to sprinkle on top of your tacos or on top of a casserole.

Or what about curly pieces of chocolate sprinkled here and there on your baked goods. Oh my!

I am so happy I bought this little grater.


Just in case you want Curly-Q cheese here's the link:

http://www.joieshop.com/e/item.asp?ItemCode=10223&CatCode=14488&s=

I told you I get excited over the littlest things.

Tuesday, January 11, 2011

Don't Knock it Till Ya Try It. CANADIAN BACON & SAUERKRAUT PIZZA


I remember as a kid my dad would always say "Don't knock it till ya try it".

I never paid any attention to what he really must have meant by that comment, nor did I ever "try it". 

I would immediately just form a negative opinion and never look back.

But years have passed, and I've gotten older, and I guess you could say wiser.

I wish he was here today to see me eat Sauerkraut.  I could proudly say "Look Dad, I tried it, and you were right all along!"

So, if you "think" you hate sauerkraut, well you know.......Don't Knock It!


1 package (3) individual ready-made pizza crusts - I like Thin & Crispy, but pick whatever kind of crust your little heart desires
14 ounce can Saurkraut
8 ounce can Pizza Sauce
8 ounces Canadian Bacon
Freshly Grated Parmesan Cheese
Freshly Grated Mozzarella Cheese

This will make 3 individual Pizza's, or if you like, you can use the regular size ready-made pizza crust and make it that way. 

I just prefer the individual pizza crust because there is always someone in the family who "Knocks it before they try it!"  Know what I mean?  So they just get plain cheese or Canadian Bacon only.

You will however, have left-over Sauerkraut no matter which choice you go with.  A 14 ounce can is the smallest can I could find. You probably will only need about half that amount (But you can save the rest for when you make a delicious Reuben Sandwich)

Preheat your oven to 400 degrees.

Spread your pizza sauce nice and evenly over your pre-made crust.


Then sprinkle the sauce with your freshly grated Parmesan Cheese.


Now, some might call me picky.

I just like to say I'm a "neat eater".  This is why.  Most of the Canadian Bacon comes in round slices, like this:


Personally, I like to dice my ham up in little squares.  That way, I get a nice piece of ham with every dainty bite.  But some manly men, might like you to just plop down the whole slice, right on that there pizza.  So do whatever you feel you need to do.

Now is the time to take your can of Sauerkraut and drain it and put it in a bowl. Don't let the smell frighten you!

Take your hands, don't be afraid, and pull out some of that Kraut, and spread it all over the ham in one nice thin layer.


On top of your Sauerkraut, spread your freshly grated Mozzarella Cheese.

Now slide this little pretty right onto your oven rack.  No need to use a cookie sheet.


Bake at 400 for about 12 minutes. Keep watching it.

That's what the oven light is for.


 You're not gonna get melty wonderful stringy cheese like that with Packaged Pre-Shredded Cheese.  No Sir Ree!


NOW I dare ya to Knock It!